One year with a Samyang 135mm F2 lens
About 1 year ago, in October 2021 I purchased a second hand Samyang 135mm F2 lens from MBP. In this post, I’ll describe how I’ve used it over the last 12 months.
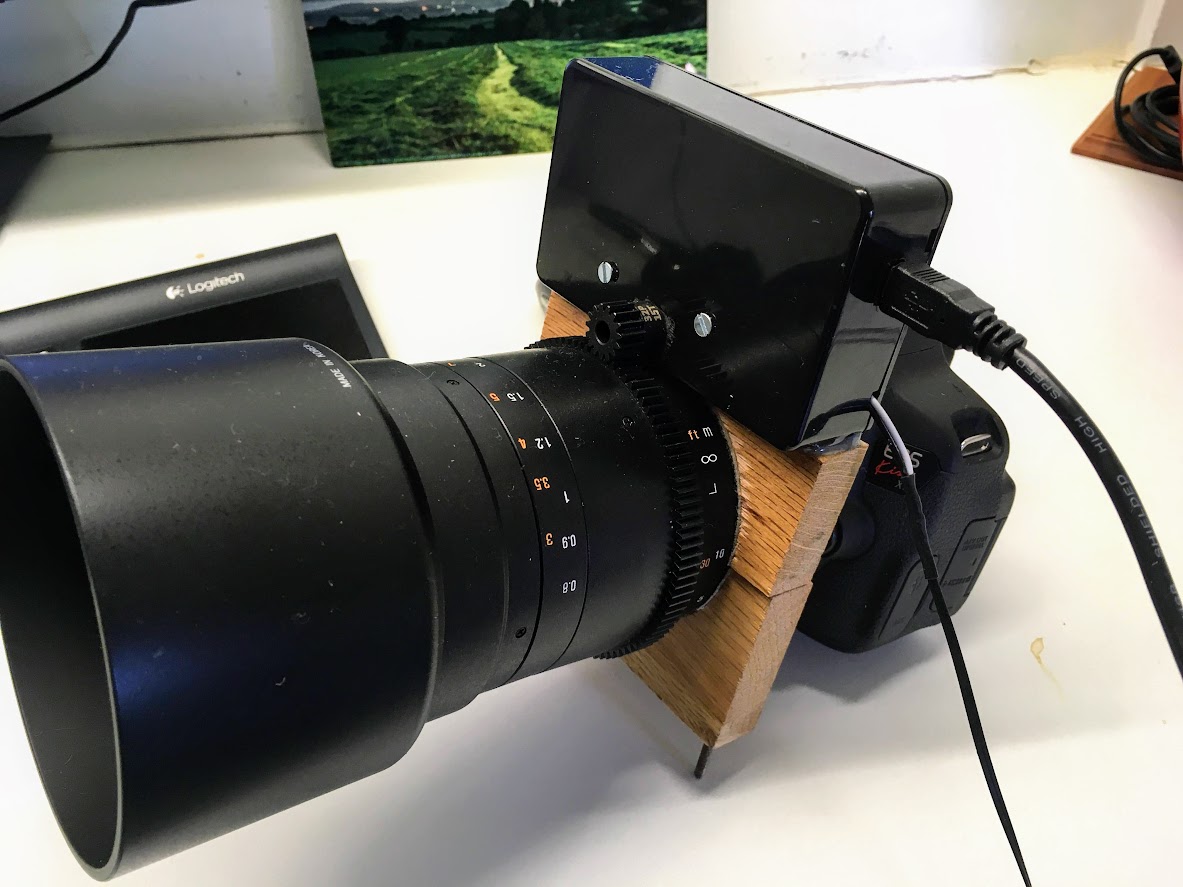
The lens was advertised in excellent condition and arrived as-new in its original packaging. The lens is the cine-lens variation which is the exact same as the usual F2 product but with T stop markings and toothed rings. The toothed rings were ideal for attaching a home made moonlite-clone focuser with a very, very home made wooden bracket. See below.
Setting up
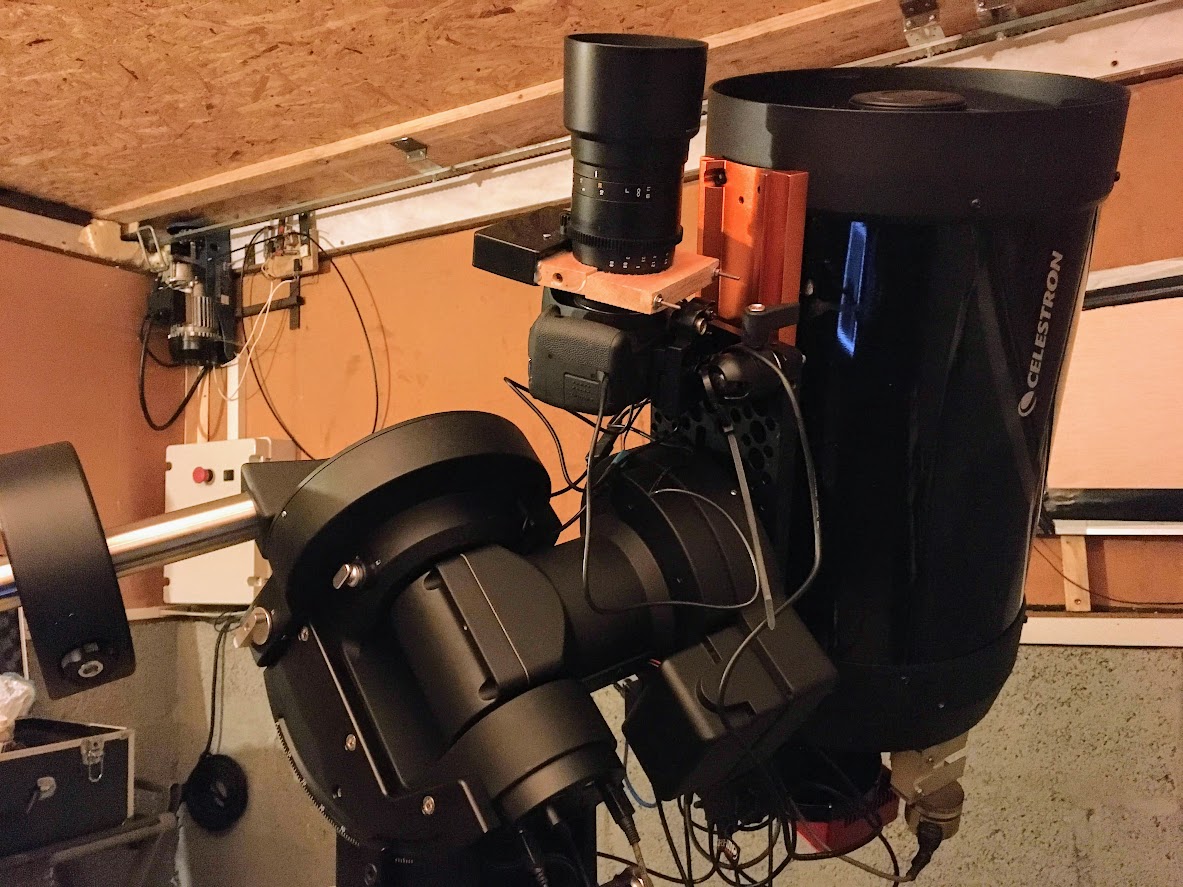
The DSLR camera, lens and focuser was mounted piggyback on the same CEM120 mount as the C11 scope. This allowed unguided exposures of several minutes but meant the C11 could not be used at the same time. A small dew heater strip around the front of the lens prevented dew. A USB dummy battery allowed powering the camera from a spare USB port on the mount’s saddle. Sky conditions are usually around SQM 21.0 - 21.5, bortle class 4. INDI and KSTARS controlled the camera and focuser with no problems and the entire setup is used remotely.
First light and first impressions
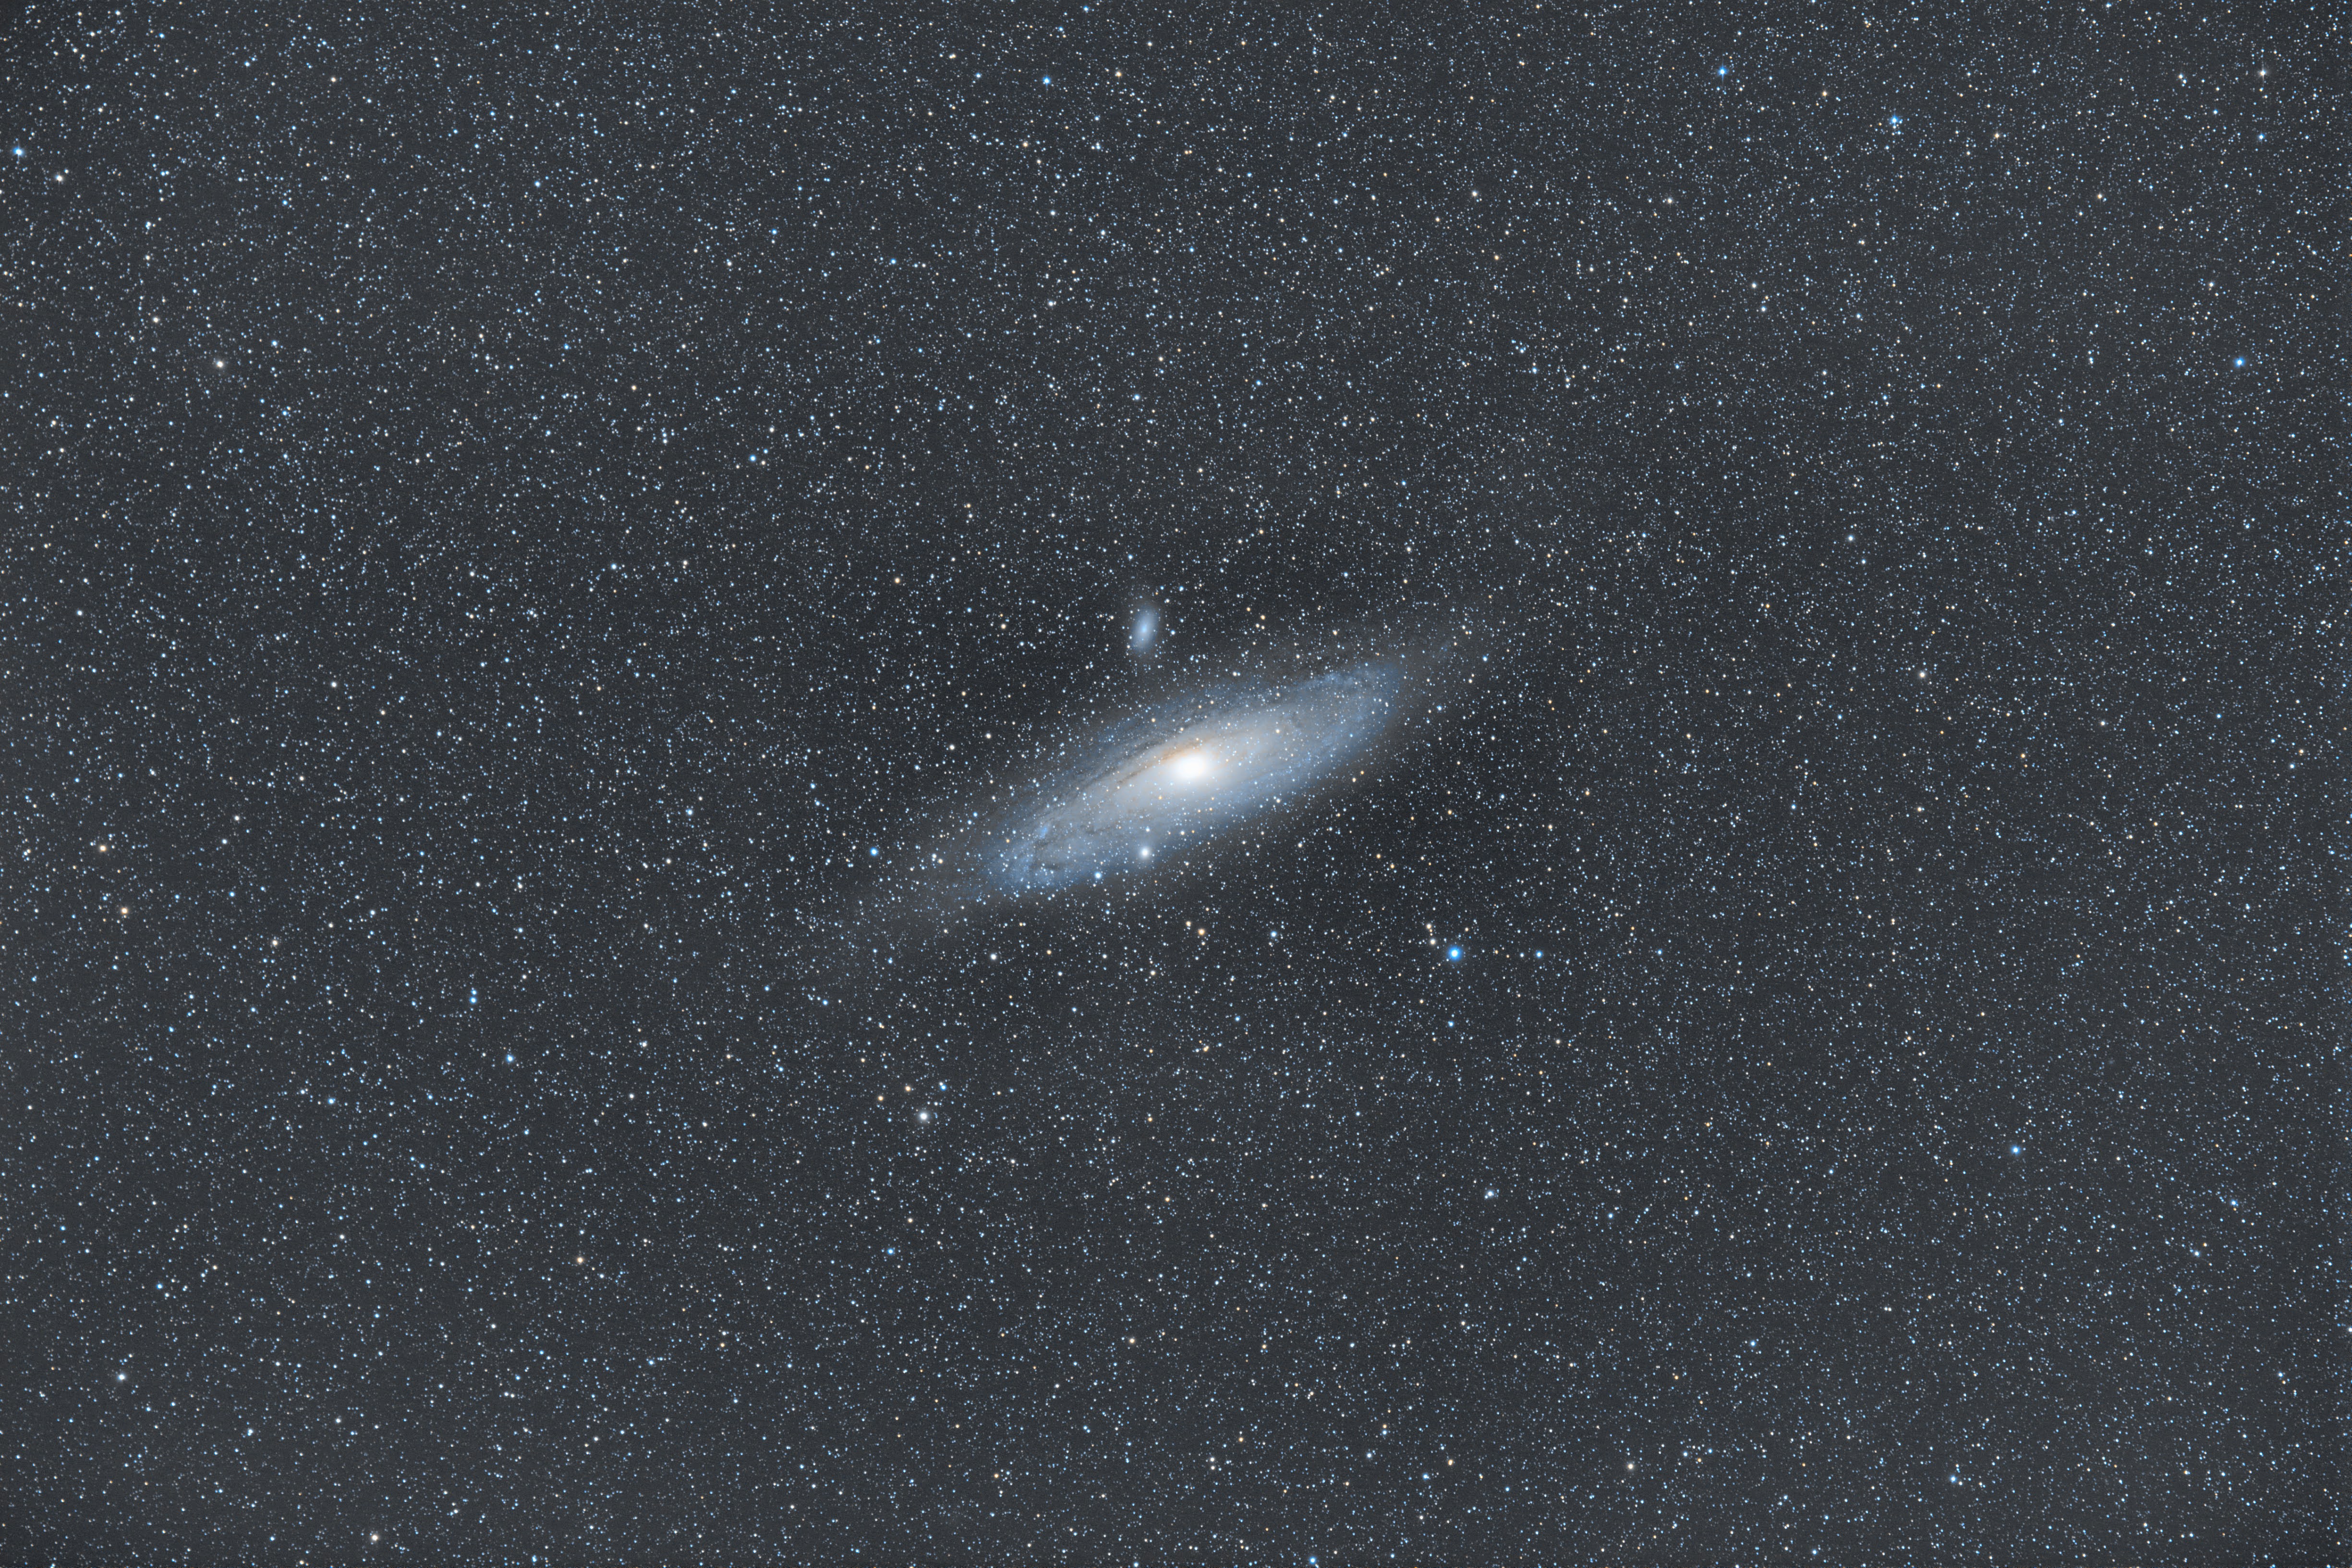
First light was M31. 52x1min exposures at F2, stacked in Siril. The lens is razor sharp at F2. Almost no chromatic aberration or edge of field distortion. Some slight coma like distortion is visible in the lower left corner. Click here for a full size version or hover your mouse over the image below.
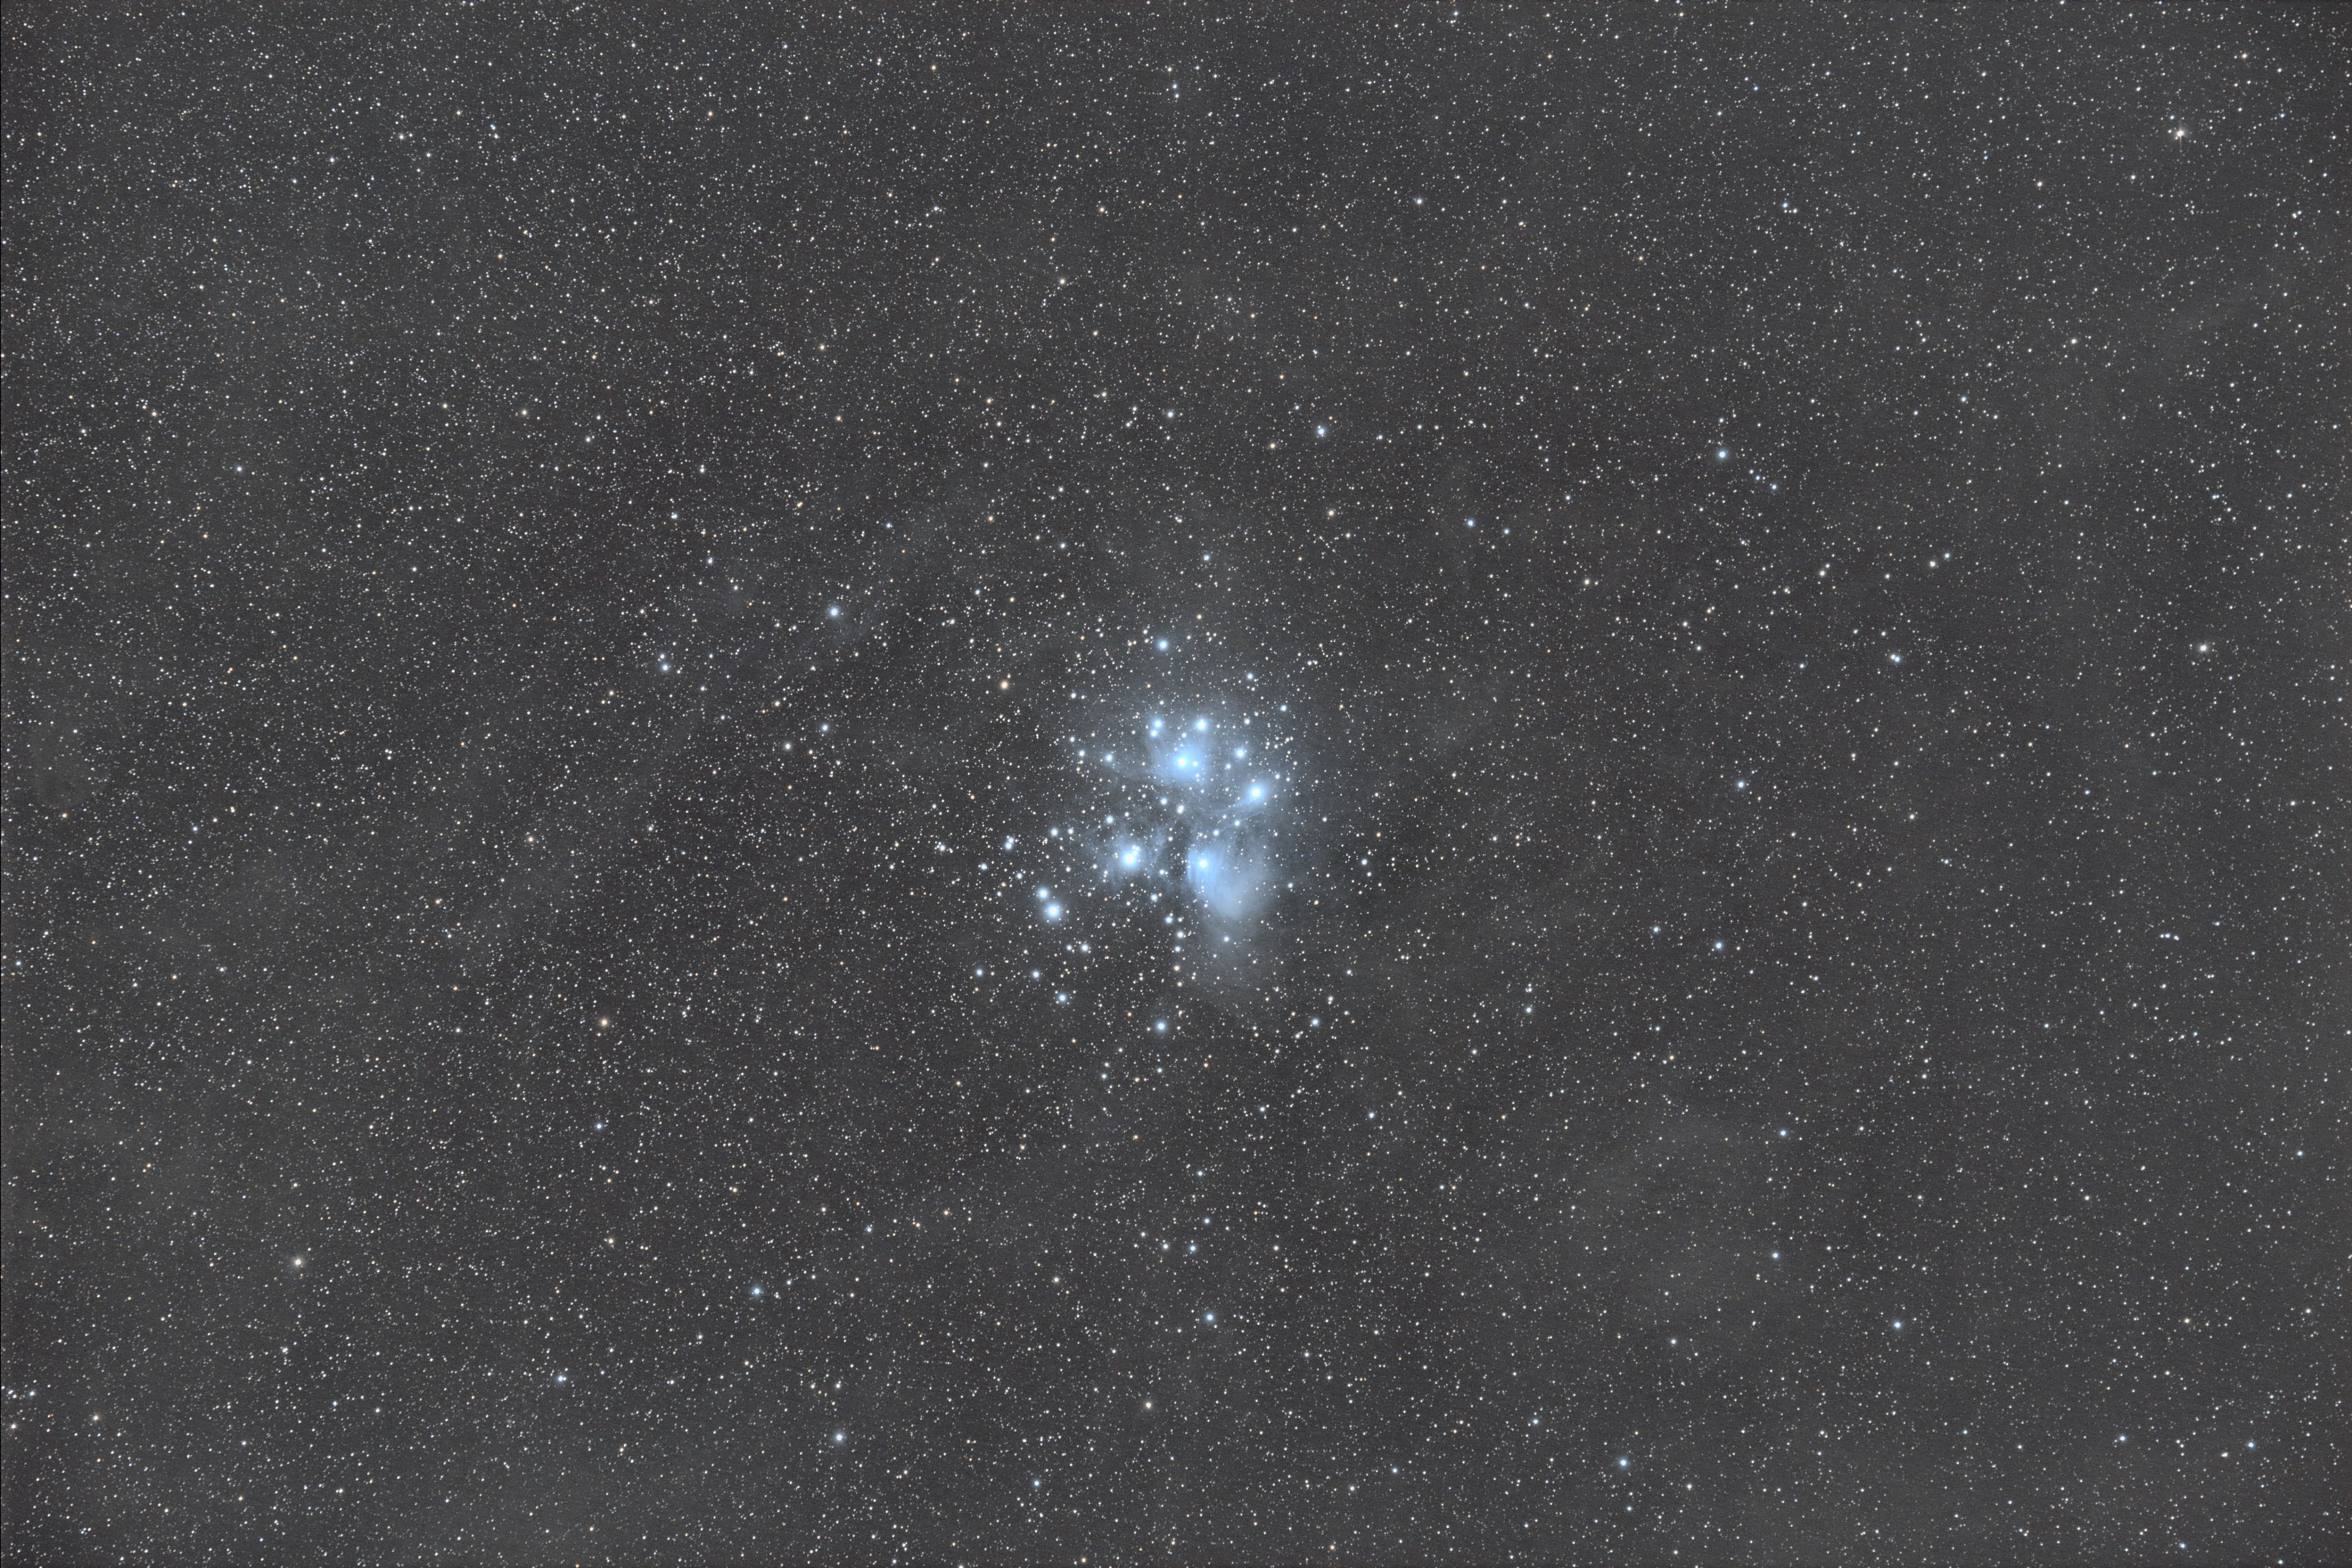
Another image of M45. Click here for a full size version 57x1min exposures at F2. Stacked in Siril.
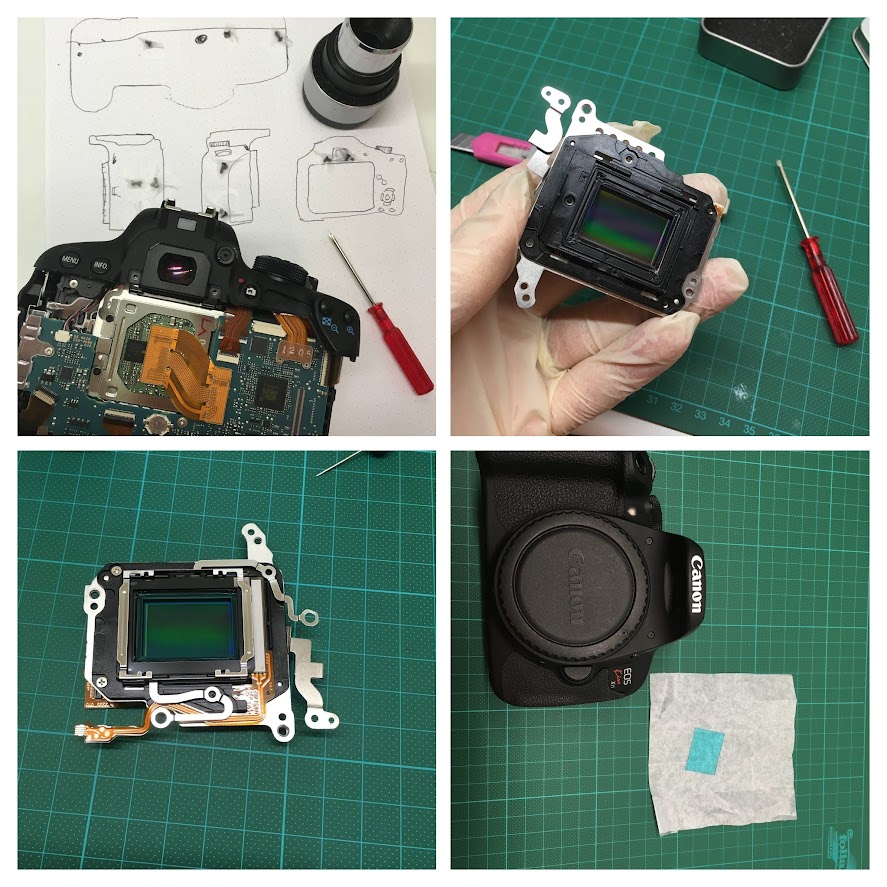
Improved red sensitivity and modifying the DSLR
In the winter of 2021/22 I removed the camera’s built in IR filter and replaced it with a Baader BCF 1 DSLR Astro Conversion Filter. This made a big difference in the sensitivity of red light from ionized hydrogen (Hα).
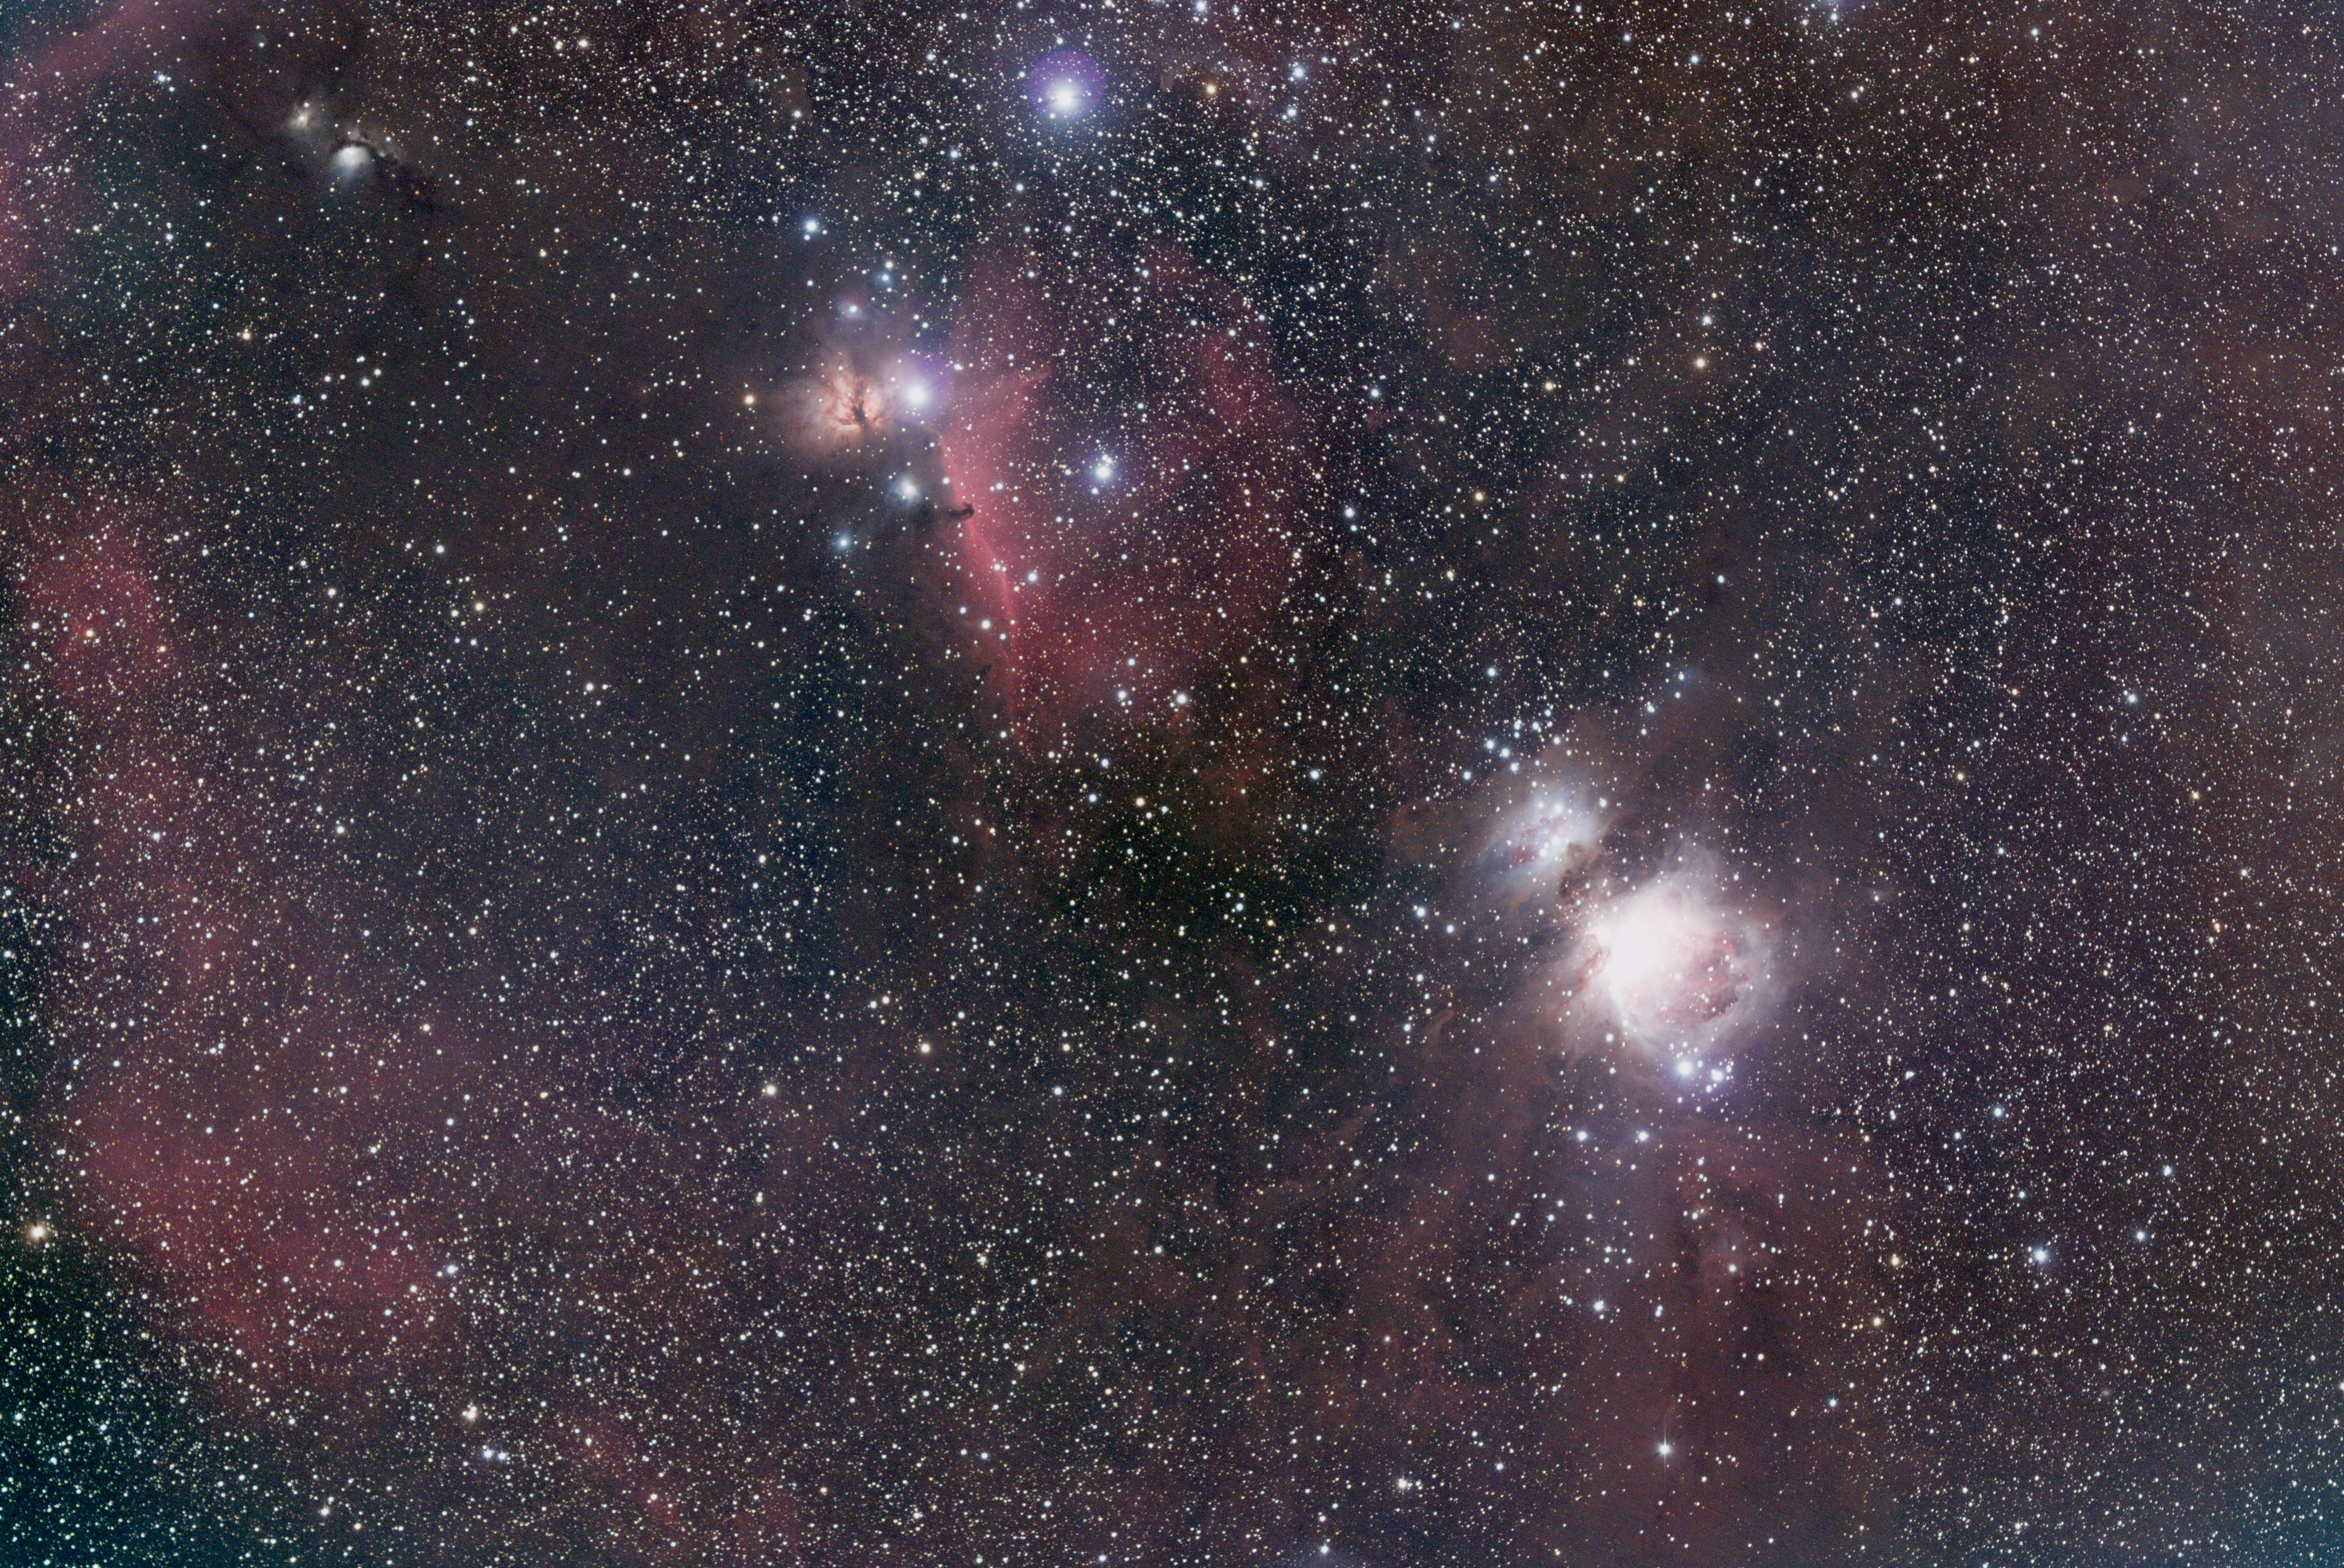
Another image of the Orion belt region below taken after modification in Feb 2022. Click here for a full size version 100x1min exposures at F2. Stacked in Siril.
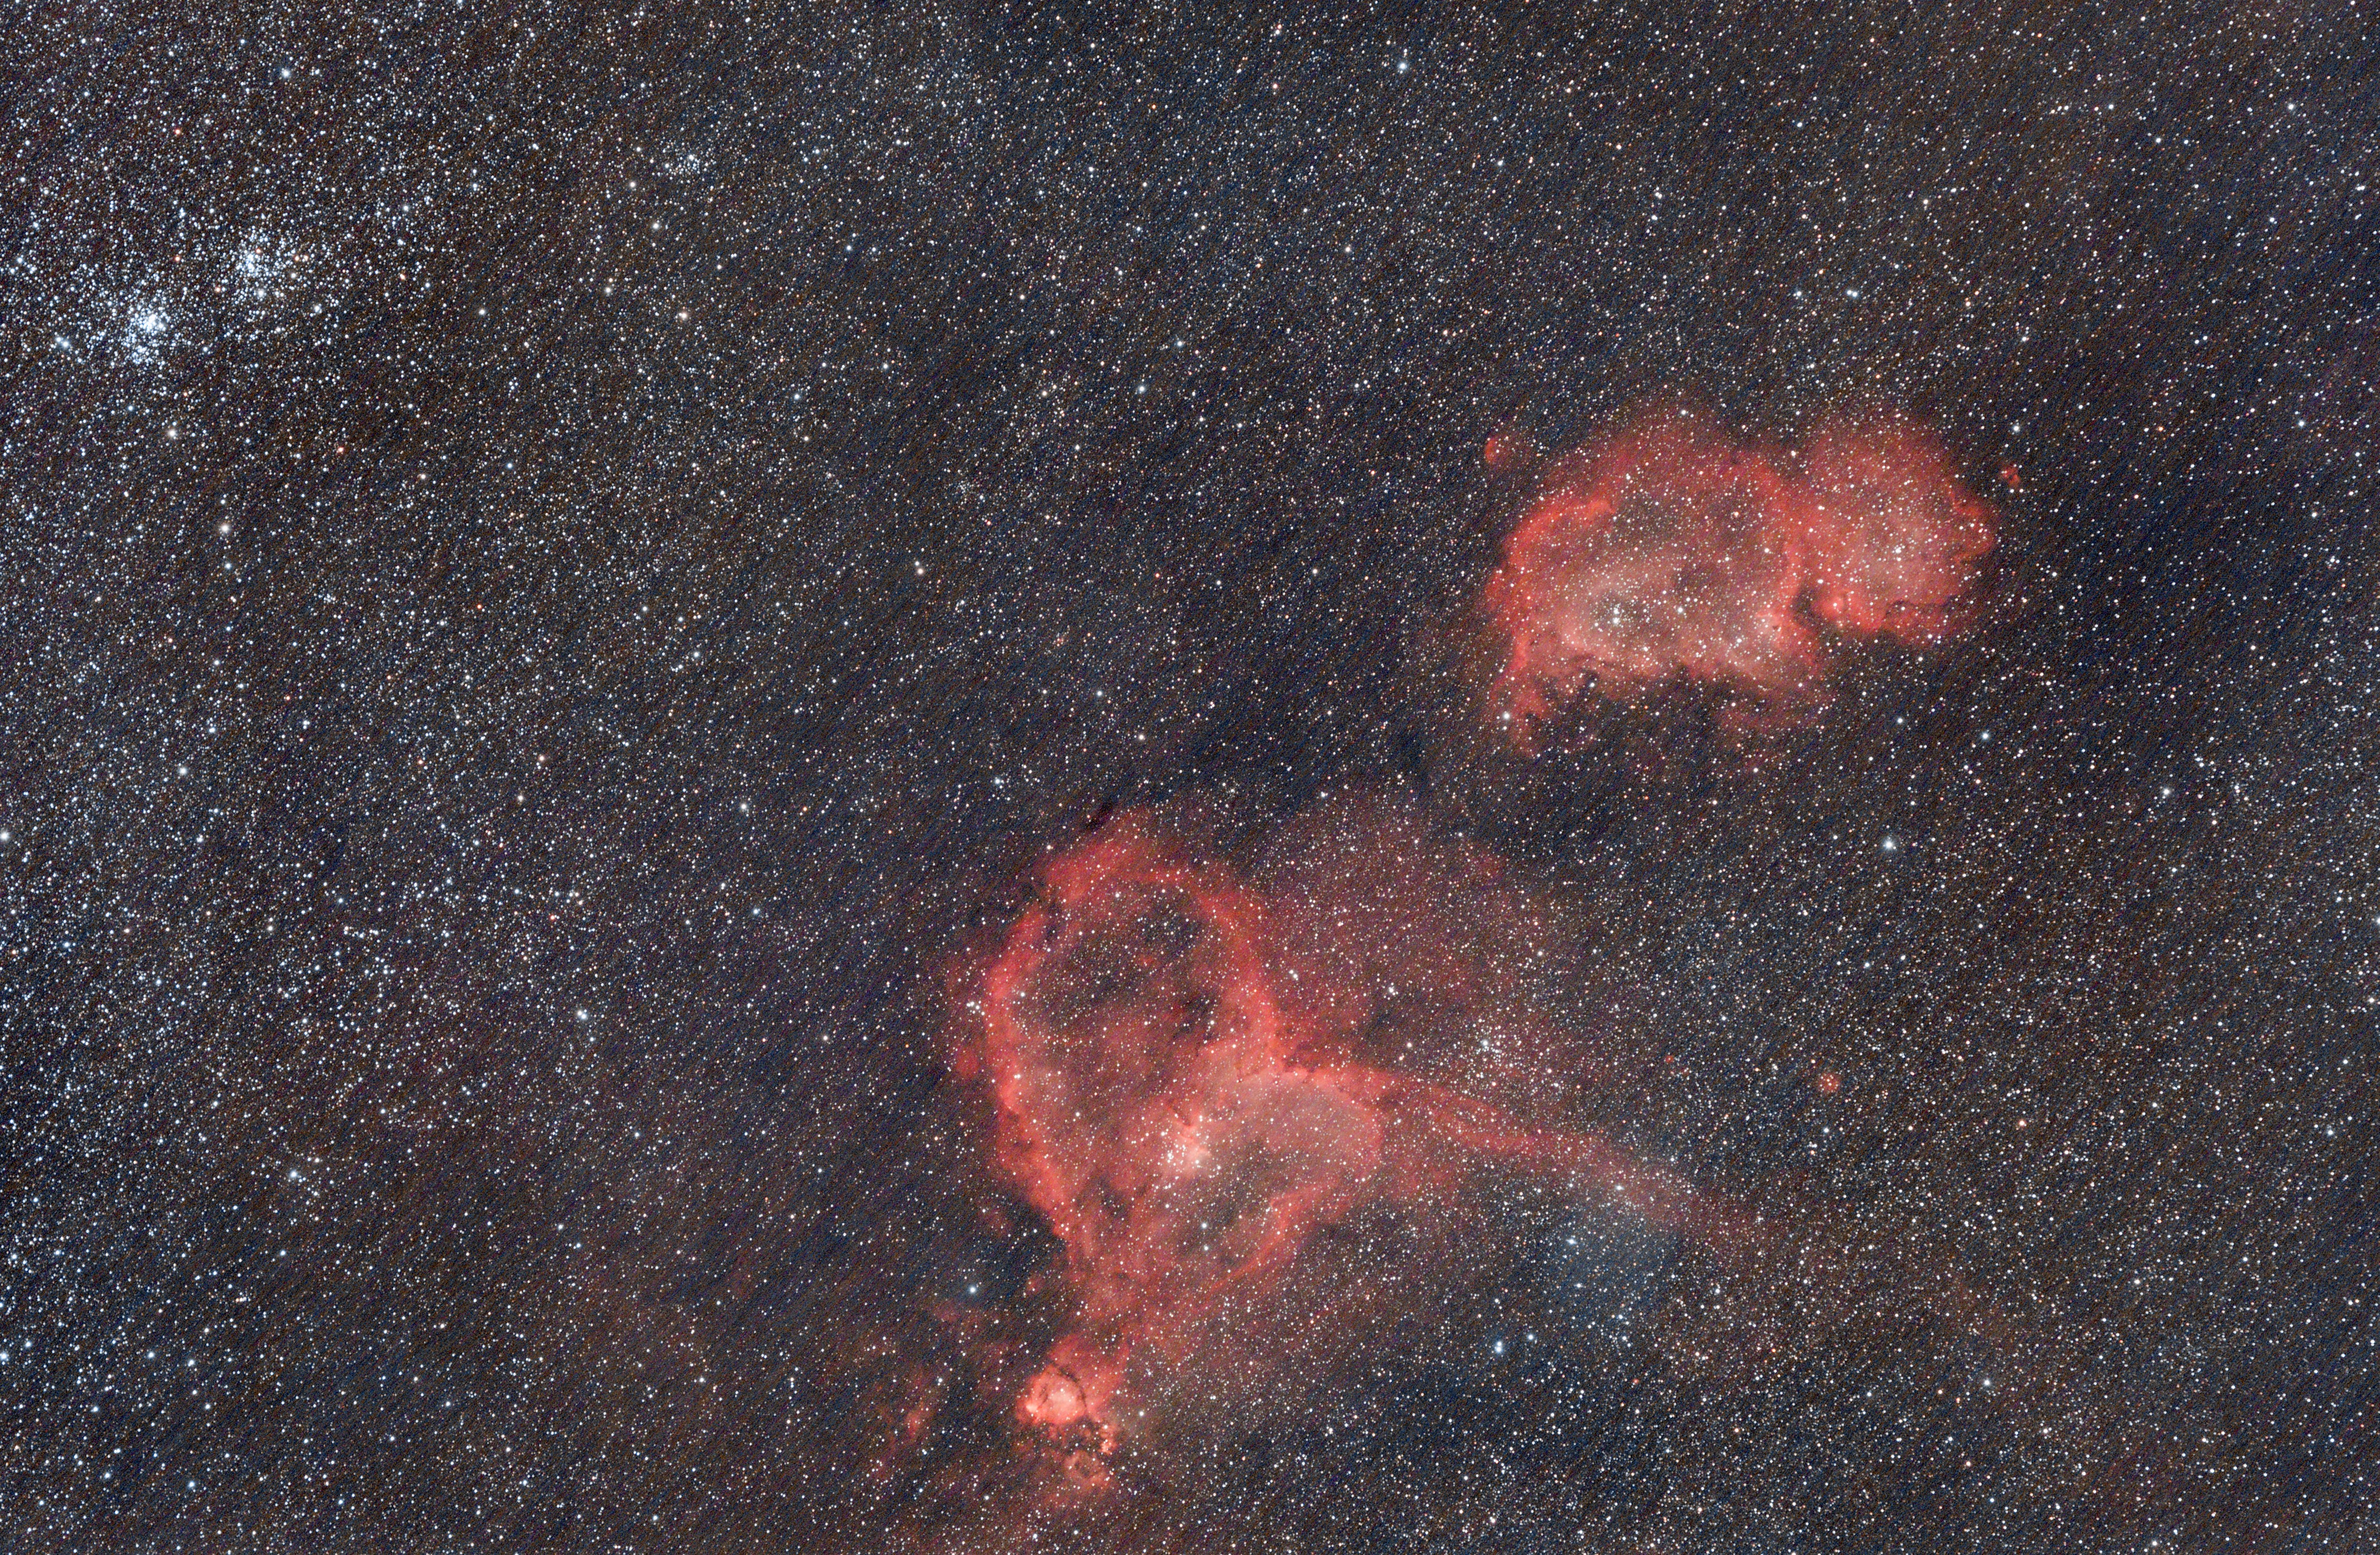
Adding an Optolong l-enhance filter and exploring Cassiopeia
The late summer / early autumn skies are full of red ionized Hα regions. I added a clip in Optolong l-enhance filter to try to highlight these regions in images. The l-enhance has a fairly narrow band-pass for Hα at 656nm. This can cause problems for fast optical systems where the light passes through the filter’s coatings at an oblique angle, effectively passing through a ‘thicker’ layer of the interference coating. When this happens, transmission of light is reduced. To reduce this effect, I stopped the lens down from F2 to F2.8.
The image below of the double-cluster and the heart & soul nebula is 52x3min (total over 2.5 hours) exposure. Click here for a full size version Stopping the lens down also improved the sharpness of the bottom left corner.
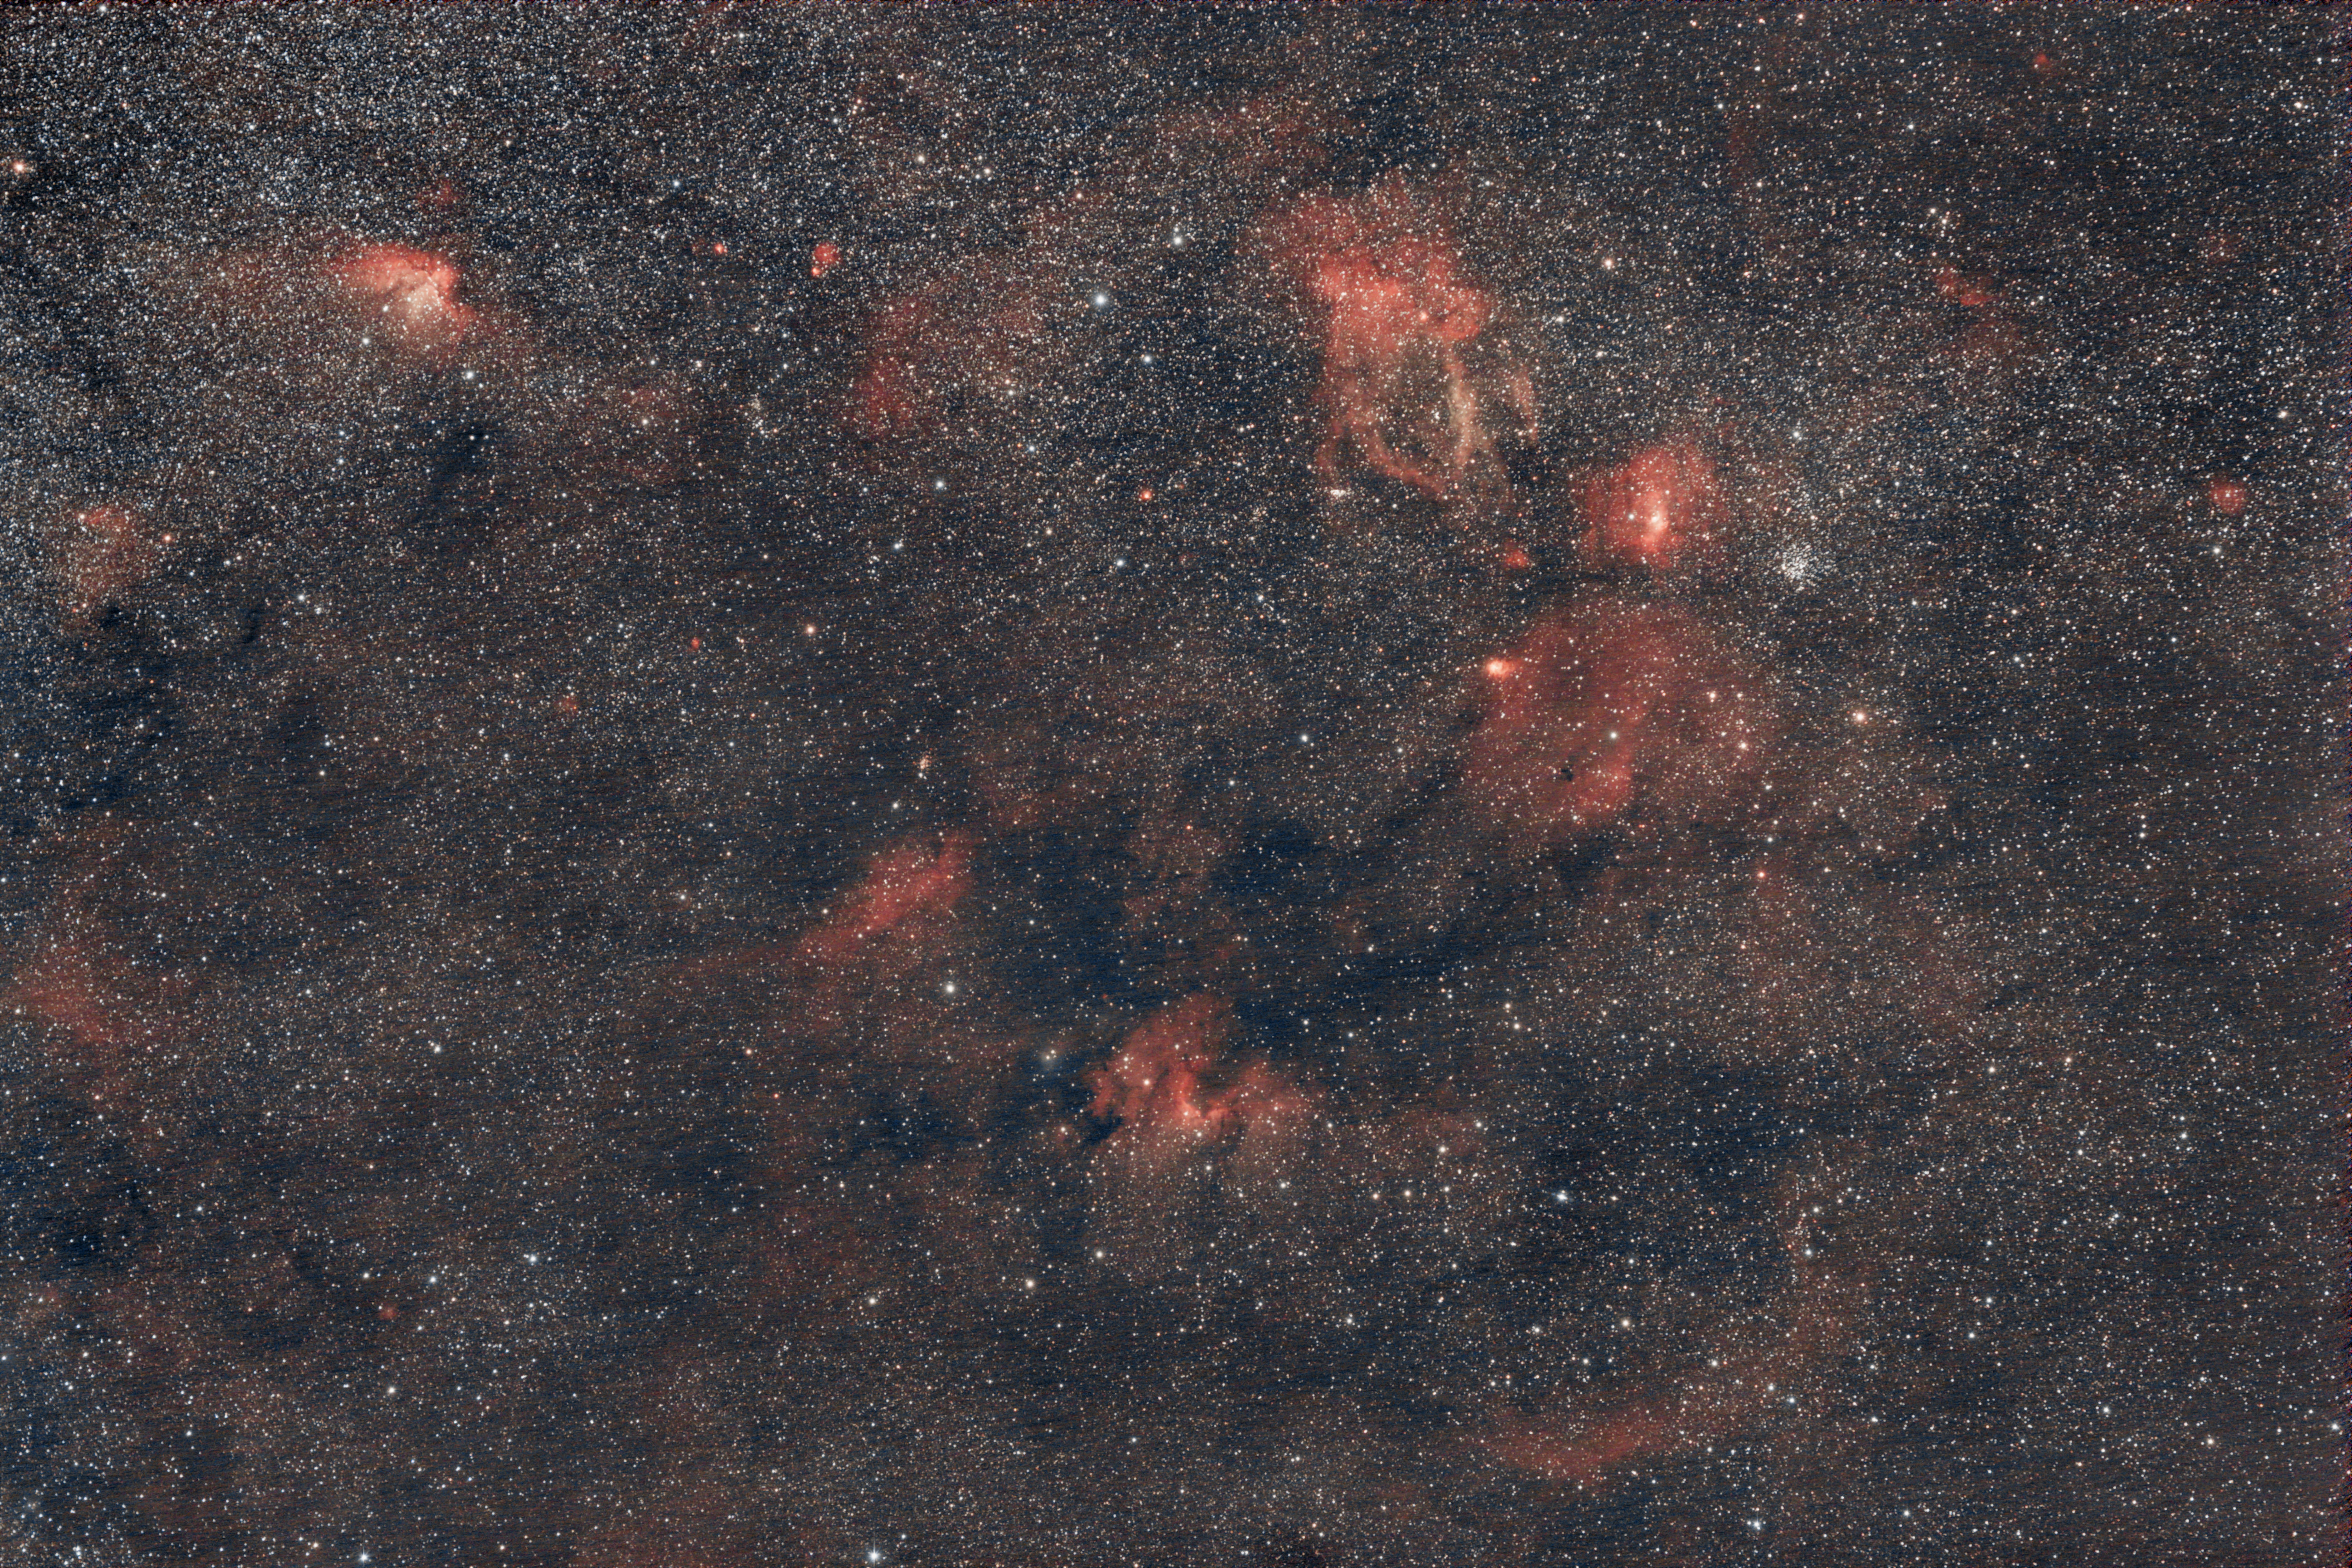
The Cassiopeia Cepheus region.
Late September 2022 brought this region high into the sky. There is so many red Hα nebula, dark nebulae and clusters in this region, its easy to get lost. I just framed the image below to capture as much as I could in one frame.
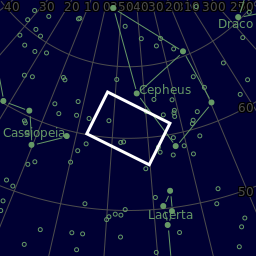
The image is 60x3min exposures at F2.8 again using the l-enhance filter.
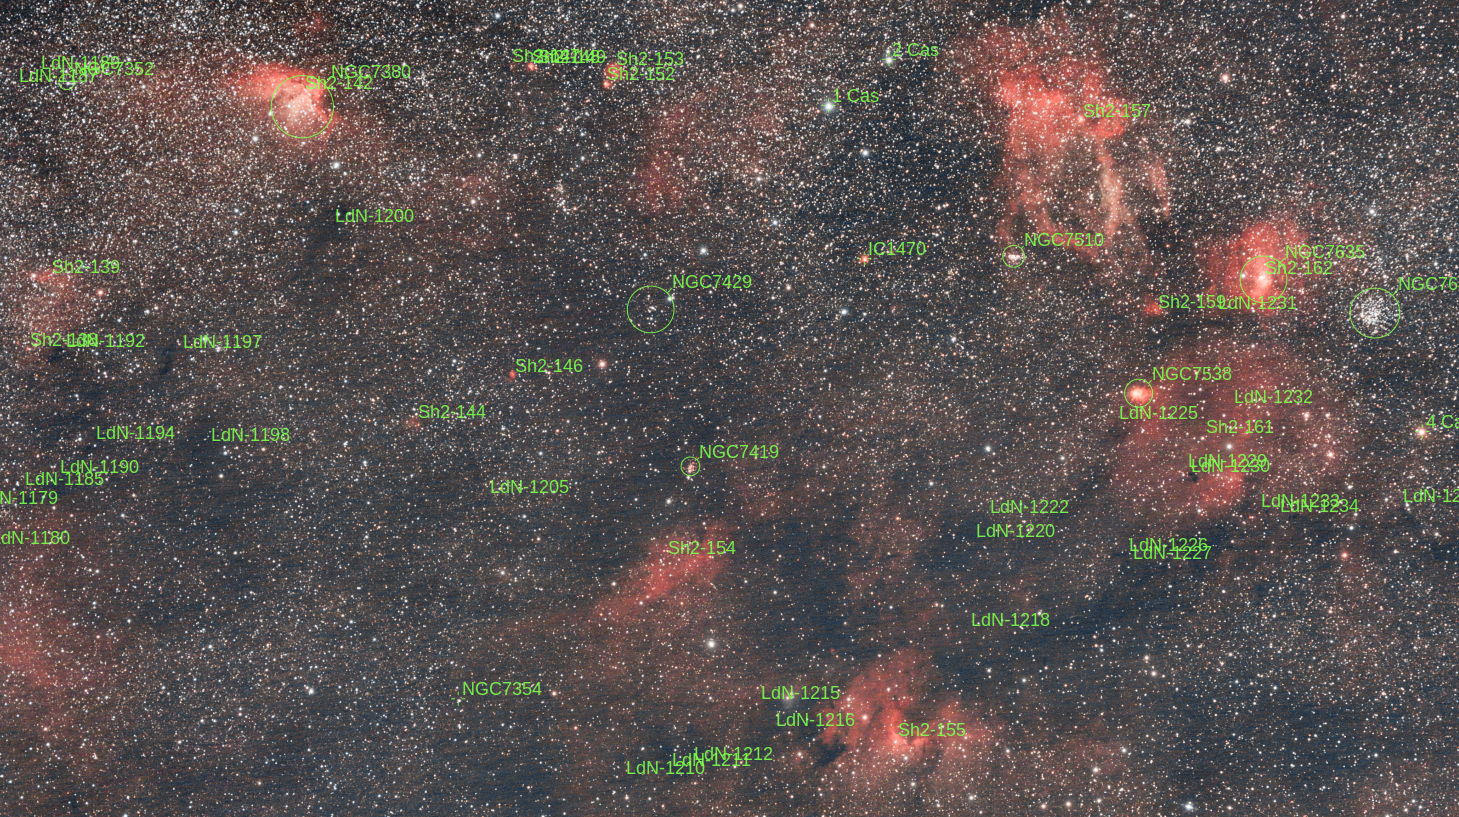
The annotated version below shows many obscure nebulae from the sharpless catalog labeled with Sh2-xxx as well as many even more obscure dark nebulae from the LDN - Lynds Catalog of Dark Nebulae.
Conclusion
In my opinion this lens is amazing value for money. I’ve never used an APO refractor but some of the images seem to rival those from a decent small APO at a fraction of the cost. Taking images at F2 is also a lot of fun. The only disadvantage for me is not being able to use the C11 to do photometry at the same time. Another mount would solve this problem.