CEM120 installation and first light
Celestron’s fork mount for the C11 is rock solid and very reliable. It was the work-horse for the last 3 years of observations. However for exposures longer than 30 - 60 seconds it gets unwieldy. Sometimes half of the exposures are thrown away and even then the good ones are not fantastic. The CEM120 from iOptron is a fairly new mount on the market with an unusual centre balanced design. A claimed ±3.5 arcsec periodic error, through the mount cabling and 52kg equipment capacity make it look really good on paper. So we went ahead and deforked the C11 and installed a CEM120.
De-forking the CPC1100 is fairly easy. There are a few conflicting guides online so being careful and taking time is key. Also its a 2 person job. We started by placing the fork and scope on a soft surface. Then we removed the side handle. On the inside of the same fork-arm there are 6 screws holding the fork’s cover in place. Once these and the cover are removed you can get to the 2 large allen bolts that hold the fork to the base. We then loosened these and then removed the 4 bolts that hold the OTA to the fork. A little bit of wriggling and pulling apart of the arms and the OTA can be lifted up out of the forks. Care is needed here as its easy to get it wedged and scratched.
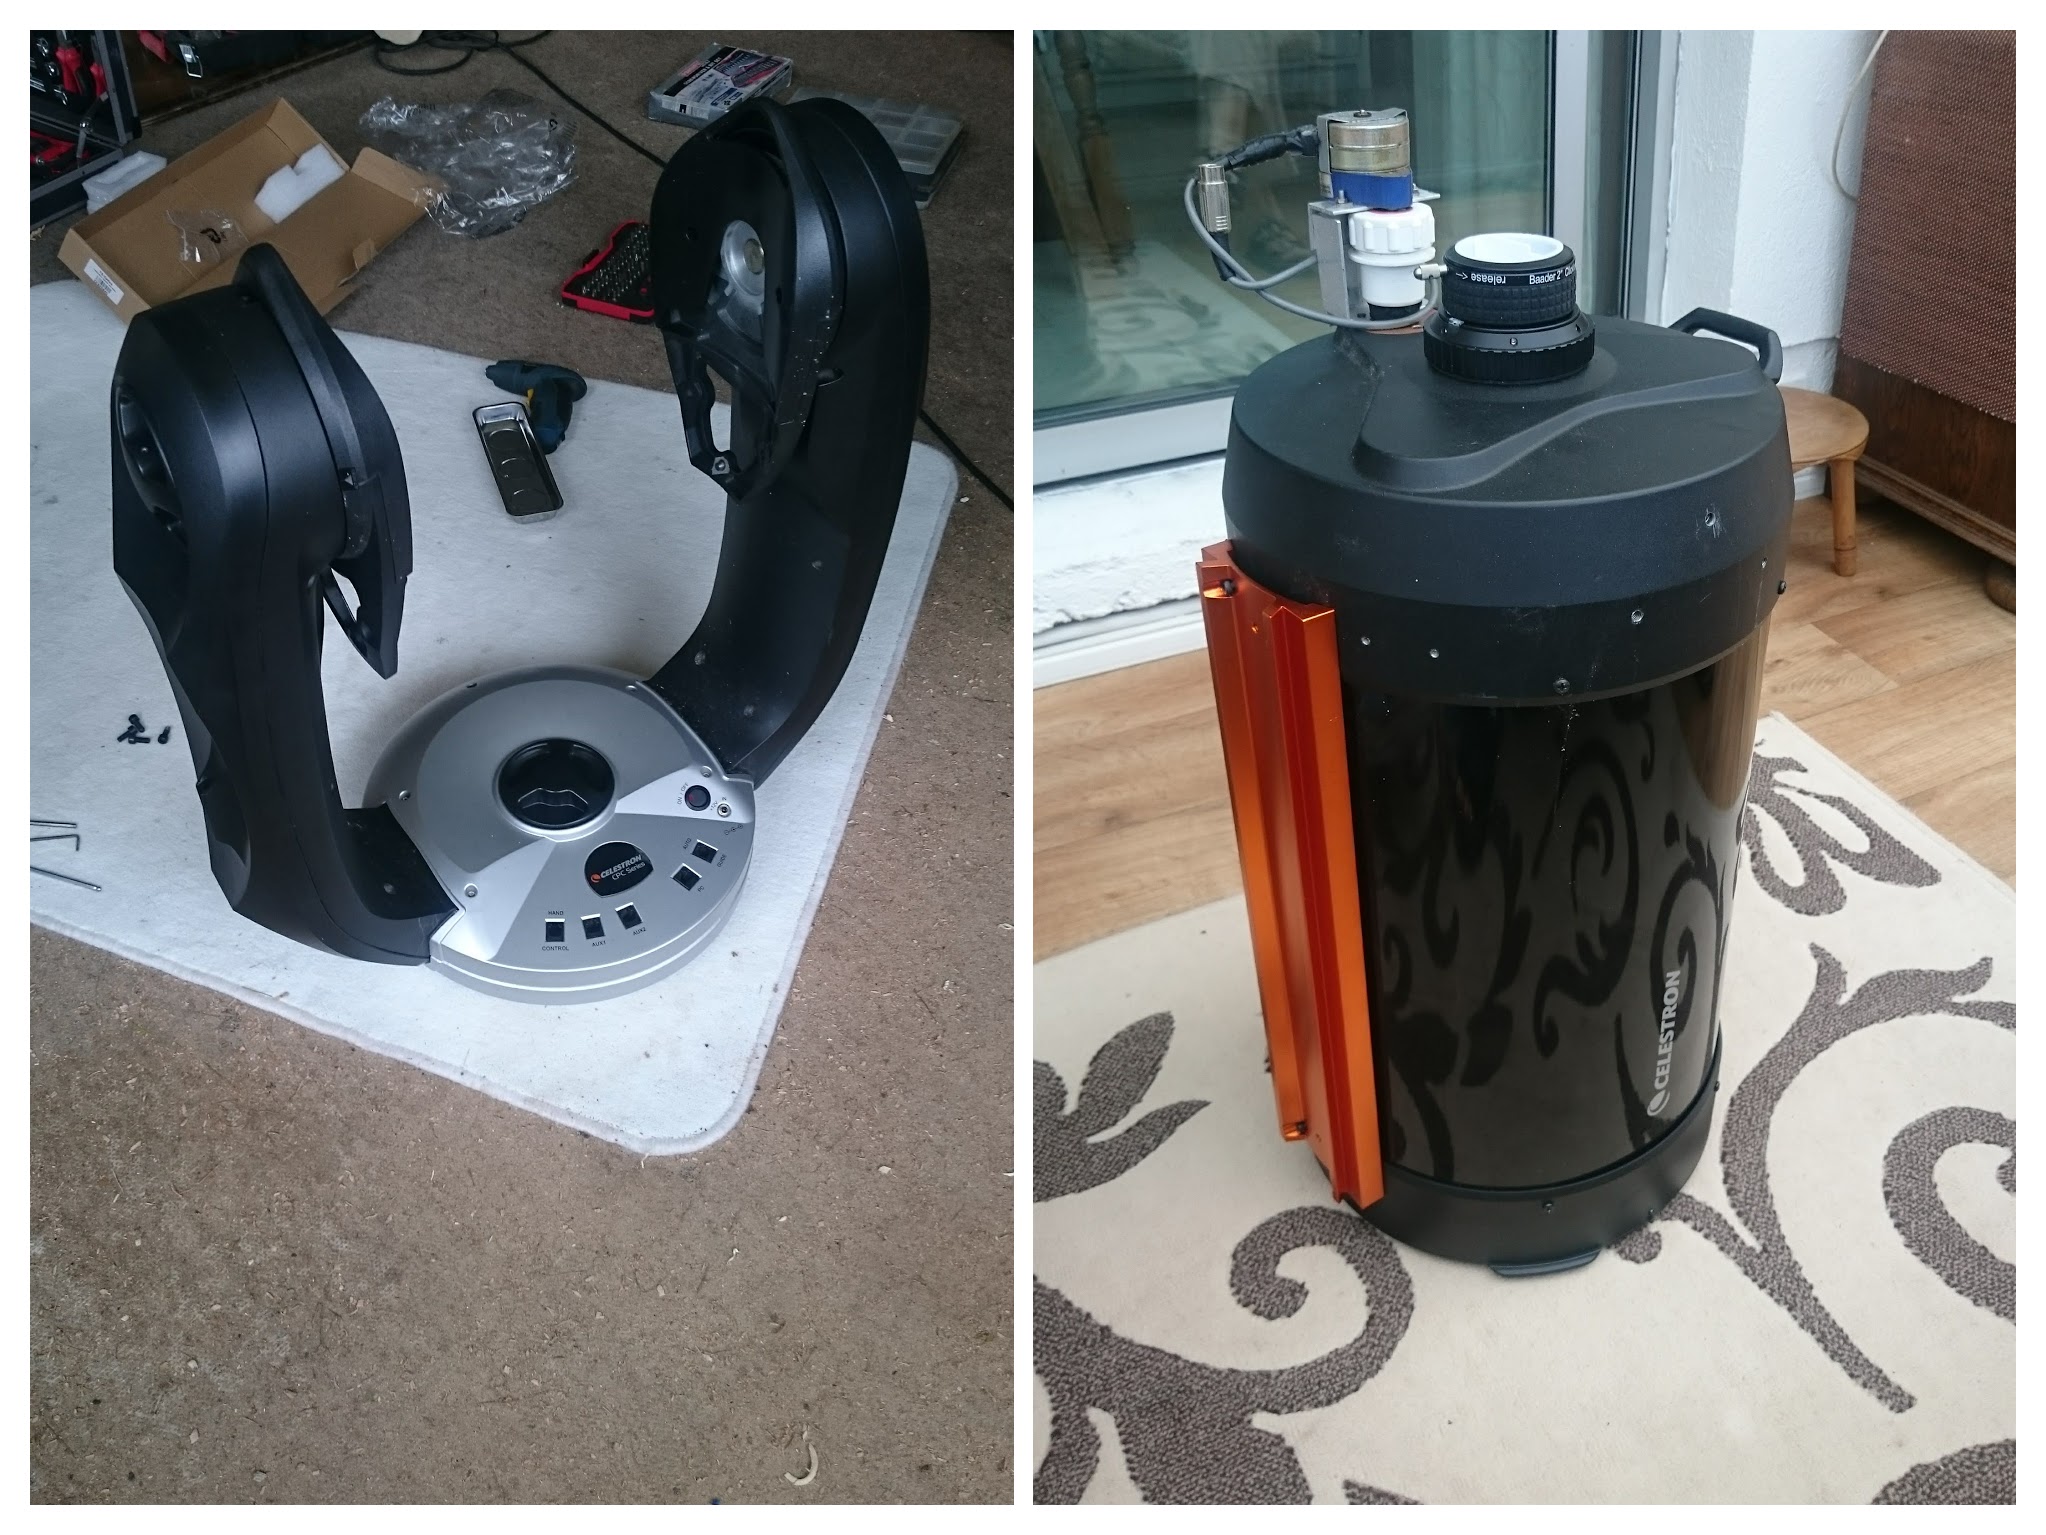
Once we drilled and tapped 4 new holes into the existing tri-pier, installation was very straightforward. The through the mount cabling works very very well. 2 USB cables connect from the mount to the PC. One cable used for the mount itself and another for all equipment connected to the saddle. 2 CCD cameras and a filter wheel could all be plugged into the saddle’s USB hub. For power there are 4 12v outlets at the saddle too. 2x1 amp sockets powered from the mount’s supply and 2x5 amp sockets powered from a separate 10A input at the mount base. The mount also comes with a 4-pin AUX connector routed from the mount base to the saddle. This is meant for custom/non standard equipment and the plugs are included with assembly instructions. This was perfect for the home-made focuser motor wiring. Previously there were 7 cables (3 USB, 3 power and 1 aux) running to the telescope. Now there is just 1 (dew heater) which can be wired into the 5A saddle outlet once an adapter is made/found.
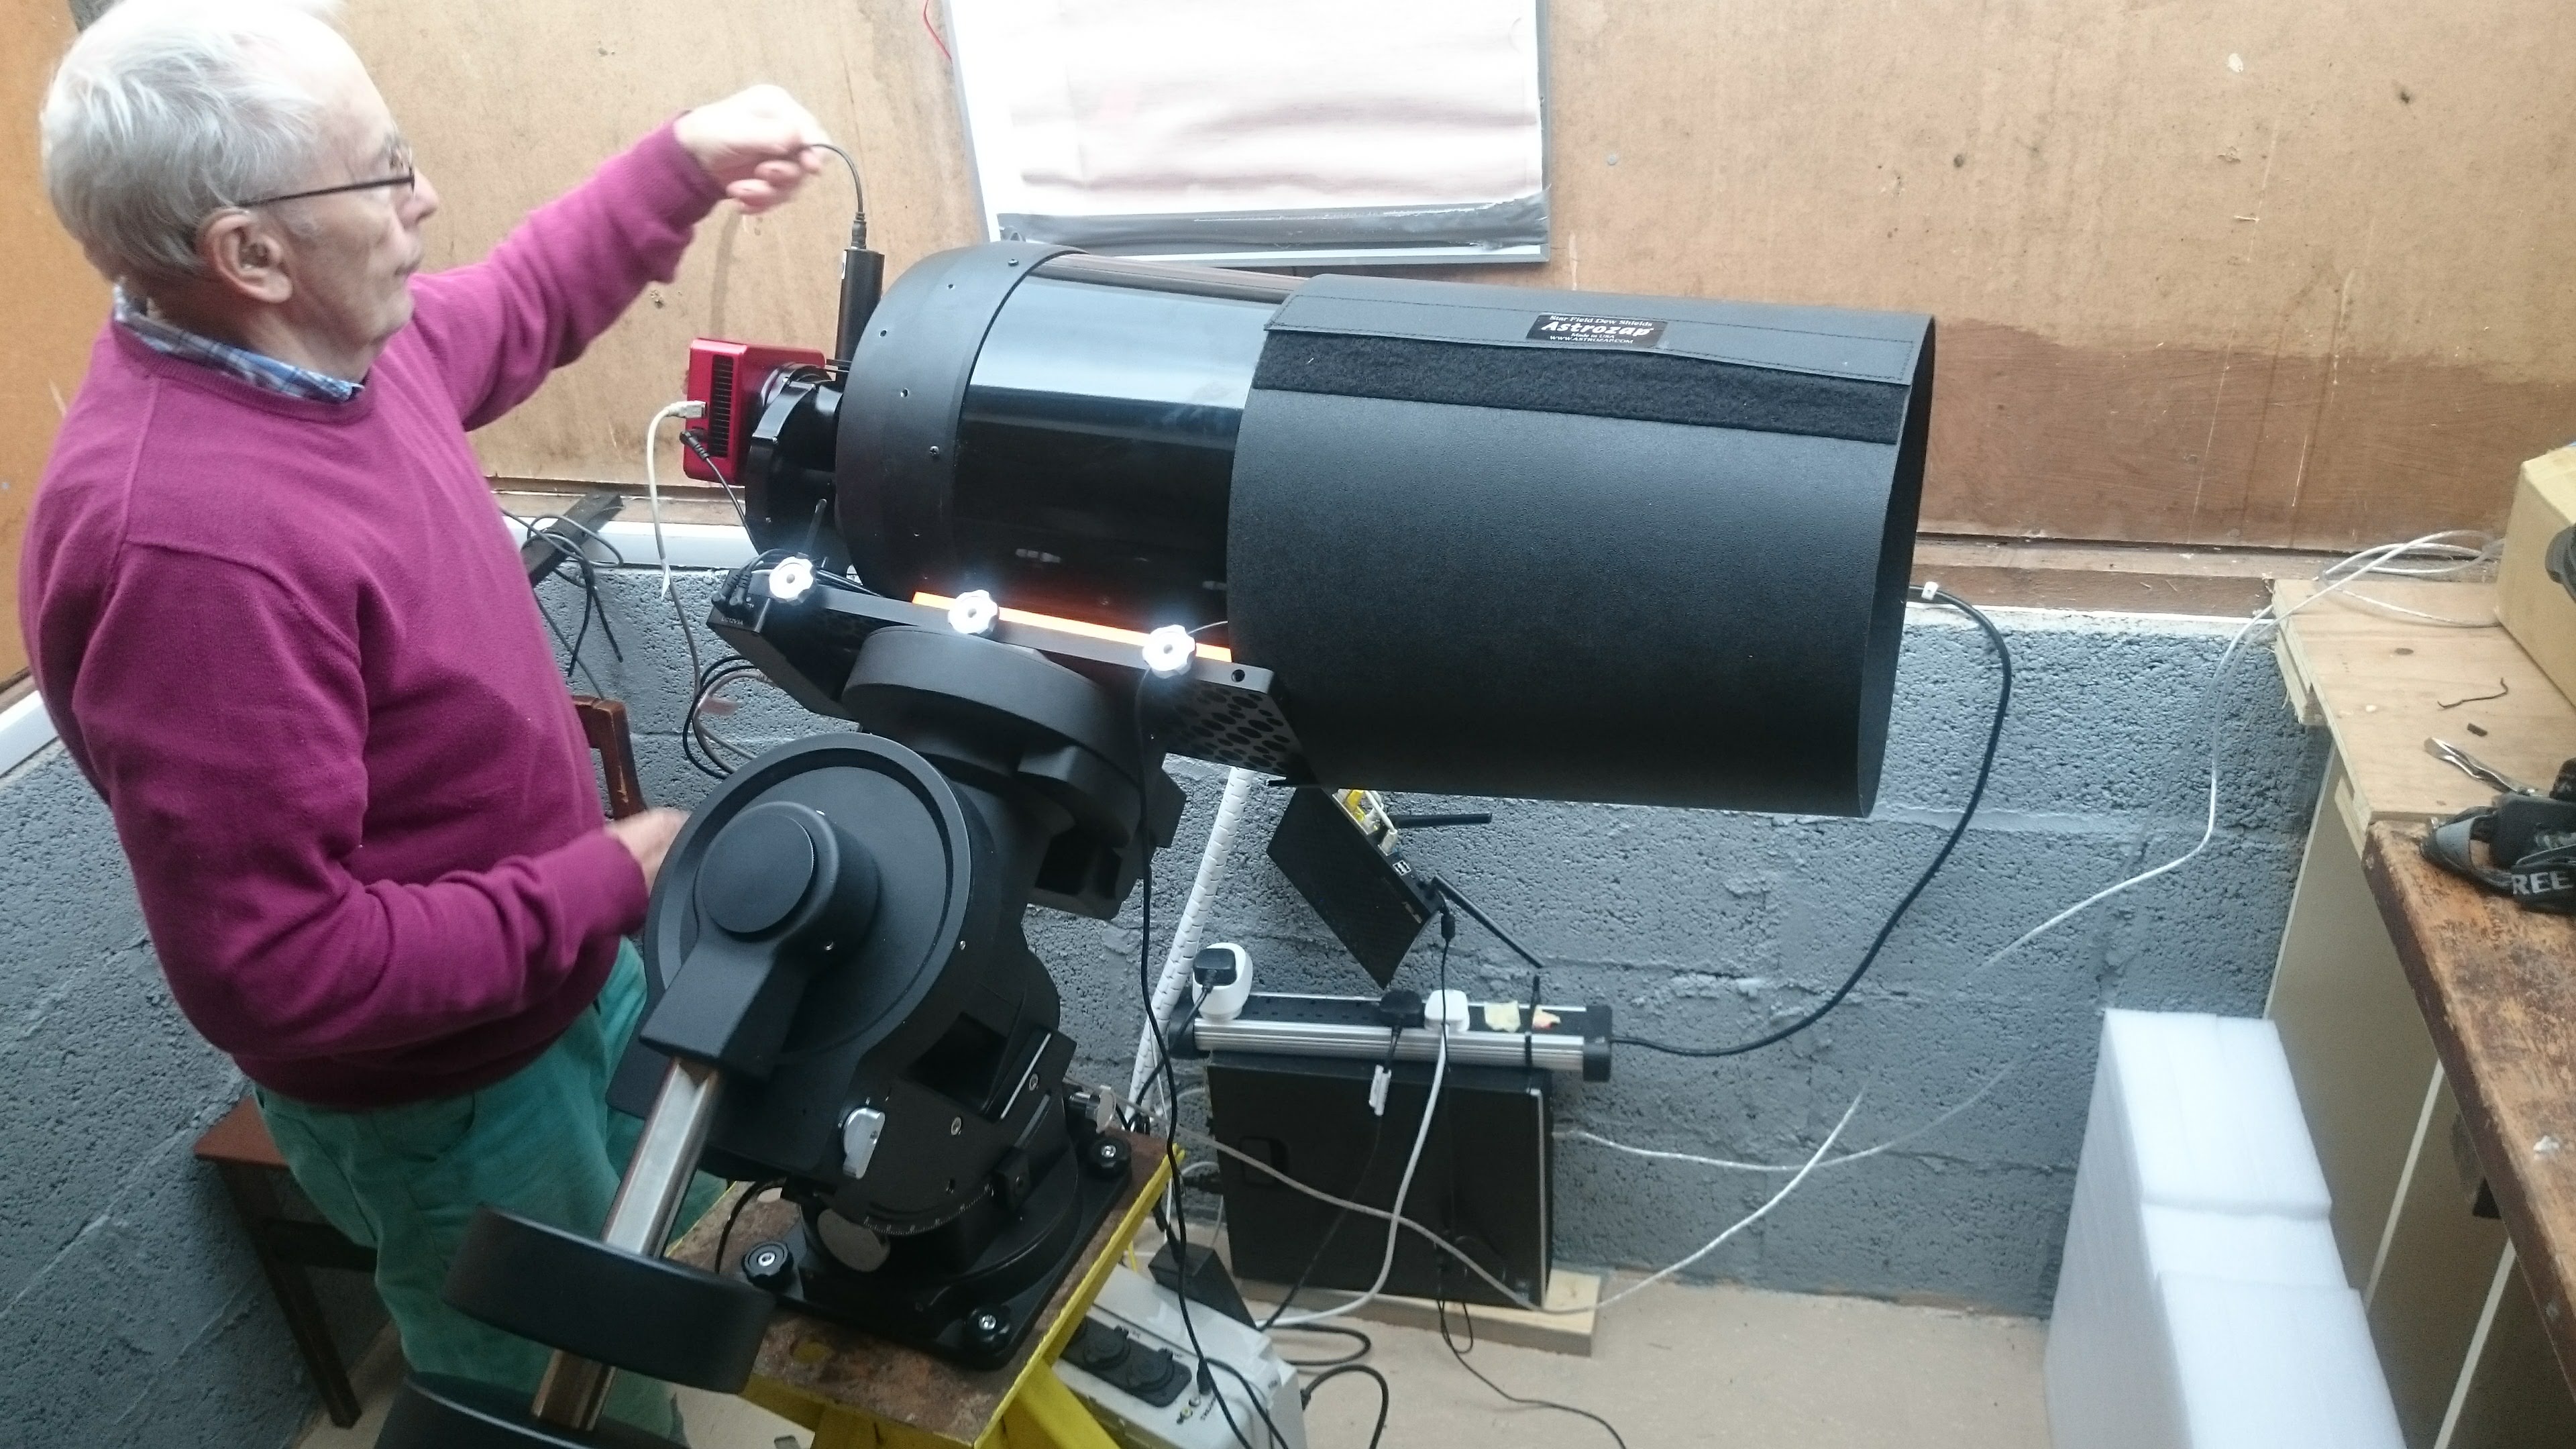
The first clear night was spent on polar alignment as well as ironing out parking/unparking positions and testing for remote use. Polar alignment was done using Ekos which got the mount aligned to with 20 arc seconds of the celestial pole. The CEM120’s alt-az adjustments are very smooth. The mount feels very well made. Any manual knobs/adjusters are well machined, tight-fitting and smooth.
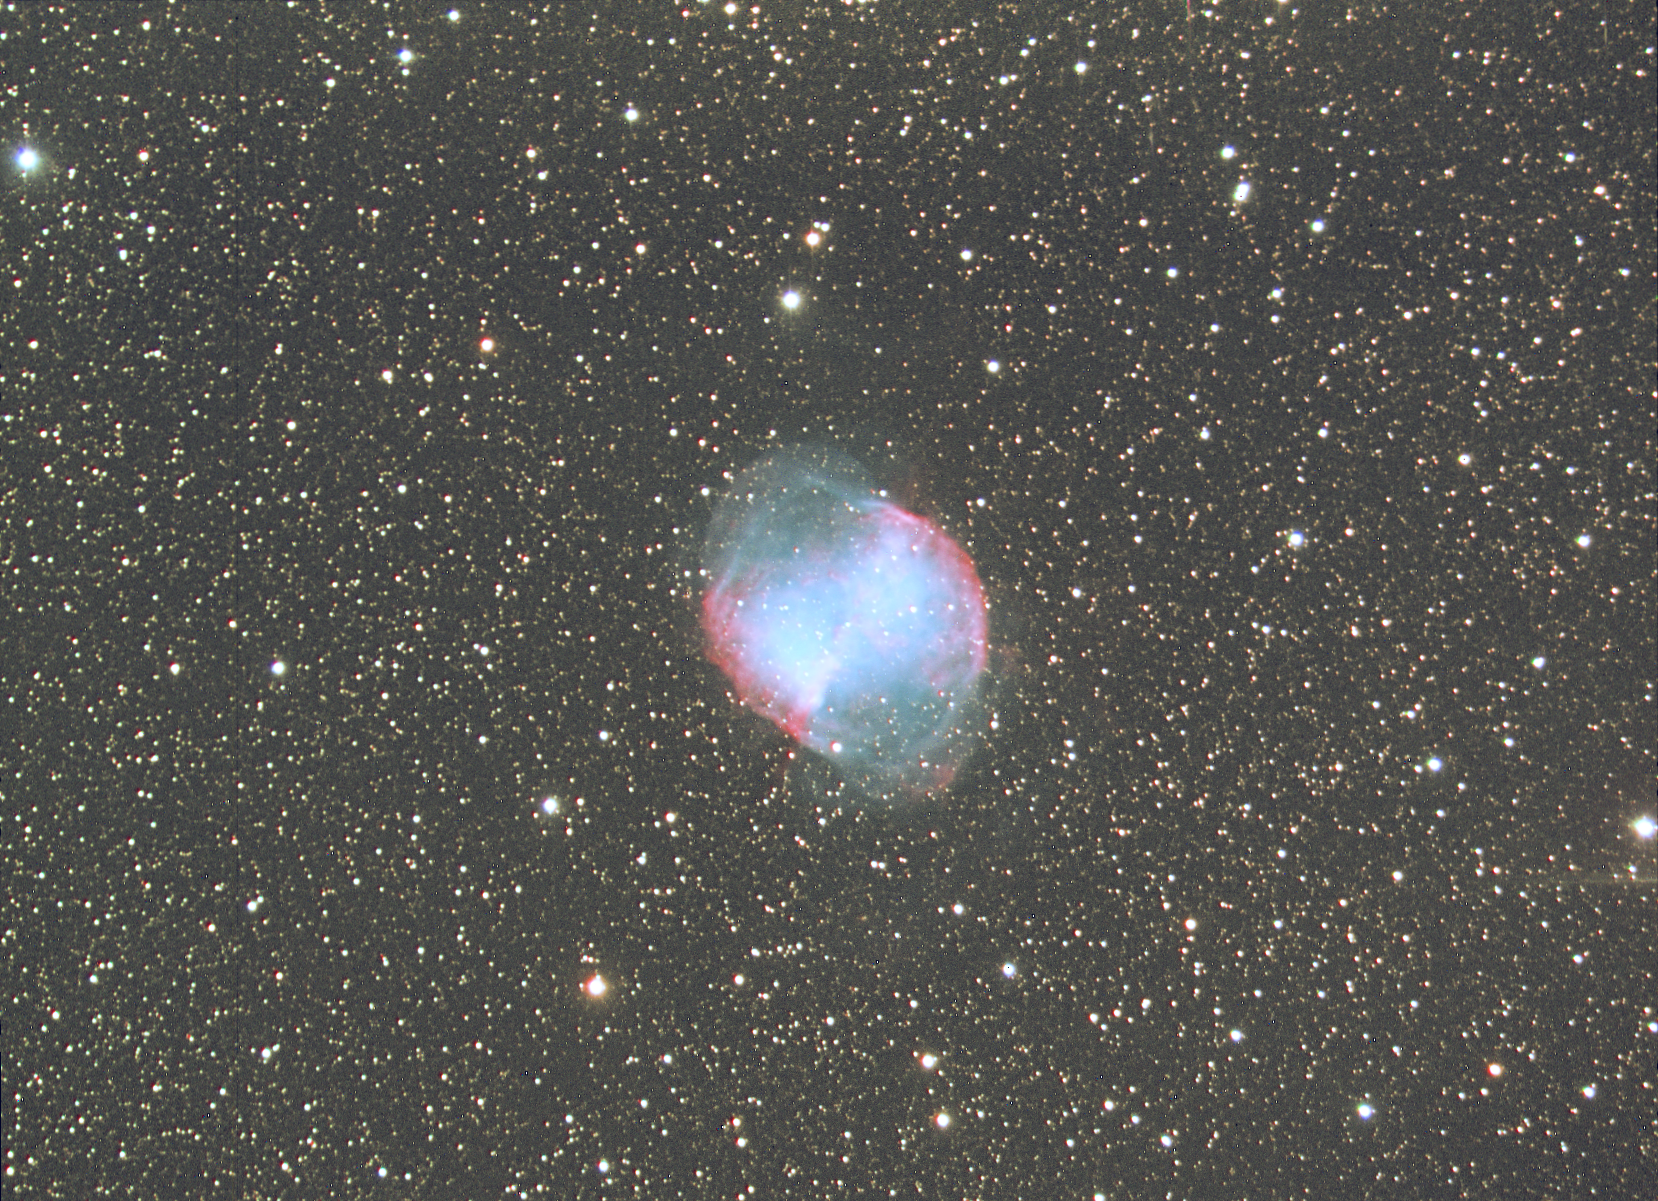
First light came a few nights later. A bright easy object. M27. 10x3min exposures taken with each LRGB filter (Luminance, red, green and blue) to give a combined time of 120minutes. Guiding using the internal guider in EKOS was showing RMS values under 1 arc second all the time except for a couple of odd blips. The image below was assembled and lightly processed using Nebulosity. It could be improved further as the alignment of the RGB with the L is not perfect but its a good enough result to test the mount out.
It will be really interesting to see how this mount works out with time-series photometric observations of variables and exoplanets over the next few months. Fingers crossed the rain stays away.